how to FILM YOUR OWN MOVES
Jason Paul
0:10 There are a lot of videos out there teaching you how to film yourself,
0:13 but none of them talk about action.
0:15 Shooting any type of movement comes with its own unique challenges and problems.
0:20 Did this ever happen to you?
0:21 You learn a new trick, so you bust out your little camera or phone,
0:25 put it down, and hit record.
0:26 you go back to look at your footage and it
0:29 doesn't look half as cool as what it felt like.
0:32 And it's true, there can be this huge gap between
0:34 how impressive a trick feels and how it looks on camera.
0:38 But of course, it doesn't have to be that way.
0:40 And you are in luck, cuz today I will share the secret tips
0:43 and tricks I learned from spending 20 years
0:46 roaming the world by myself with a camera
0:49 trying to make myself look as cool as possible.
0:51 Talking about gear, this video was made in support by ASUS,
0:54 who just released a laptop in collaboration with GoPro.
0:58 Throughout the video, you'll also see how I use their technology
1:01 to make my creative process as smooth as possible.
1:04 All right, we're going to shoot some beautiful parkour today,
1:07 and I'm going to walk you through the most important things
1:09 you need to know to be able to do the same.
1:11 The first thing I want you to think about is what trick am I doing,
1:13 and what is that trick's sweet spot?
1:15 Meaning, the best angle to show off that particular trick.
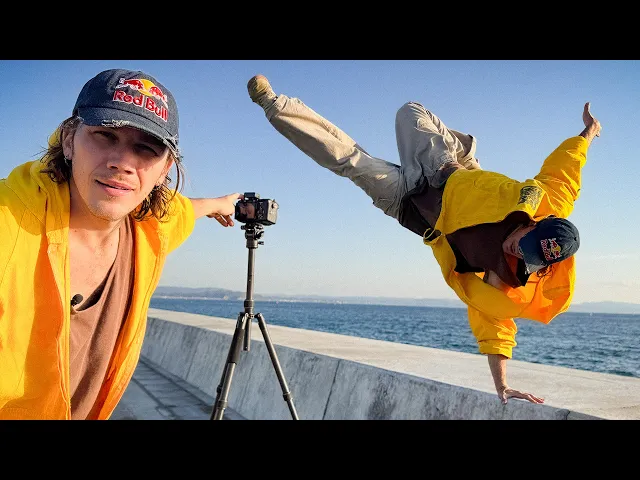
1:19 For example, my aerial will not look so great when filmed from the side
1:23 because you can tell that I'm not really going completely upside down.
1:27 But if filmed with the chest facing the camera,
1:30 the camera can't really see that I'm not
1:31 fully upside down and the trick looks much nicer.
1:34 Same trick.
1:35 What a difference.
1:36 And this will take some experimentation.
1:38 Whenever I learn a new trick, I will spend some time pointing the camera at it
1:41 from different angles to find that trick's particular sweet spot.
1:45 But sadly, it's not always this straightforward.
1:48 For example, a simple jump over a fence can
1:50 look completely different depending where you film it from.
1:54 Shot on a zoom lens from the front,
1:56 it's really easy to tell how high I'm jumping,
1:58 but it's difficult to understand how far the jump is.
2:01 Shot from the side, the distance becomes clear,
2:04 but we're making the fence look pretty small.
2:06 Shooting with a super wide from below makes
2:08 a fence look tall and the jump look far, but we don't see takeoff or landing.
2:13 Filming on a zoom lens from the top will do the opposite.
2:16 The action is very easy to understand,
2:18 but we're making the jump look pretty small.
2:21 I try to think of all these elements while I balance out the A cam shot.
2:24 In the end, I like this framing the most.
2:26 The camera is slightly low to make the fence look tall,
2:30 and being slightly to the side and on a wide
2:32 angle communicates the distance of the jump,
2:35 but most importantly, it shows takeoff, air time, and landing all in one frame,
2:40 which is the one rule I follow for my main action shot.
2:43 But sadly, there's no one sizefits-all jump solution.
2:47 For example, if you're doing a jump that's a little bit higher up,
2:50 an angle from the front or the side is usually a bad
2:54 choice because it doesn't show what makes this jump so difficult.
2:57 It's scary.
2:58 A shot from below or above will do a much
3:01 better job showing off the height of the jump.
3:03 What I want you to know is that it's
3:04 not always straightforward what the perfect angle is.
3:07 So, if you are aimlessly walking, climbing,
3:10 and crawling across the spot like somebody
3:12 who can't find their car keys, don't worry.
3:15 That's a natural part of the process.
3:17 Now that you found your sweet spot,
3:19 I'm going to show you how to add camera movement.
3:21 Even if you're shooting yourself, before I hit record,
3:24 I back up the camera so I have some extra room at the edge of the frame.
3:28 With this extra space, I can go into the editing room and then crop in.
3:32 Now I can use this frame to track the movement,
3:35 creating the illusion of a moving camera.
3:37 And if you look at the result,
3:38 it should be pretty easy to tell how much energy this adds to the shot.
3:42 If you want to be more subtle,
3:43 even a little zoom in or zoom out can be really nice.
3:46 Sorry for not getting too technical in today's video,
3:48 but if you search key framing and the name of your editing software,
3:51 you'll be able to learn this in about 10 to 15 minutes.
3:56 When I'm shooting an important project,
3:57 a lot of times it's useful to do a quick edit on location
4:00 to see if my idea works or if there's anything that needs fixing.
4:03 For this, the Asus Pro Art GoPro Edition is
4:06 ideal because I can get the job done quickly.
4:09 There's a micro SD card slot so I don't have to mess around with a card reader,
4:13 and it edits fast and smooth,
4:15 so I can just quickly see if the shot works or not.
4:18 The screen is bright, so even if the sun is out, I can see what I'm doing.
4:22 and it's built nice and rugged.
4:23 So once I know the shot works,
4:25 I just throw it into the bag and go on to the next one.
4:27 The bag is also perfect for when you're going for a little
4:30 bit of a longer editing session because it fits everything you might need.
4:33 And even the box that the laptop comes in can
4:35 be reused by adjusting the foam to your needs.
4:38 I've become a little bit of an organizational nerd, so I love this.
4:42 Thanks again, ASUS, for supporting me on this video.
4:44 Check out their new laptop in collaboration with GoPro in the description below.
4:49 Now that you know how to move the camera in post,
4:51 I'm going to show you three gadgets that I use to move the camera in real life.
4:56 The first one is a self-flying drone by Hav Air.
4:58 This thing is ridiculous and allows you to get some really interesting shots.
5:15 Number two and three is the GoPro Max.
5:18 In the POV mode, it creates one of the most
5:21 immersive and exciting perspectives you can use to showcase parkour.
5:25 I especially love to pair a cinematic action
5:28 shot with a rough and raw GoPro POV angle.
5:31 And lastly, in 360 camera mode, I love putting this thing on a tripod
5:35 and then tracking my movement in post with key frames.
5:38 Now that we're happy with how we film the action, we're at the final step.
5:42 Let's film some B-roll.
5:44 To me, the action is the meat of the sandwich, and the B-roll is the sauce,
5:49 the spices, the lettuce, the bread, everything that creates this full package.
5:54 For example, I might show myself wiping off
5:56 some dust to show what makes this jump difficult,
5:58 or a close-up of my face to show that this is a particularly scary jump for me.
6:05 That look like I was about to jump.
6:07 Since I don't like to cut in the middle of the action,
6:09 I try to capture B-roll of what happens before and after my trick.
6:14 Another great shot to get is the celebration
6:16 or the relief after making the trick.
6:19 And while I'm setting up my B-roll shots, I try to ask myself,
6:22 what information does this shot add to the story?
6:25 Today was the first time for me doing
6:27 a front flip from this high since injuring my ankle.
6:30 So, check out how I used the B-roll to make this moment
6:33 feel as big as it felt to me in real life.
6:49 Yes.
6:49 Let's go.
6:50 So nice.
6:56 Yeah.
6:57 I think really Yeah.
7:00 is what what we're doing is actually about the movement is
7:03 about the emotion and I try to translate that into the video.
7:08 And now you know how to make an awesome sandwich.
7:10 I mean, shoot some great action.
7:12 Remember to find the sweet spot for your tricks.
7:15 Frame your shots with the environment in mind.
7:18 Think about how you can create camera movement
7:21 and tell the rest of the story with your B-roll.
7:24 If you use these techniques, you'll be able to make your moves look as big
7:27 and dynamic as they actually feel in real life.
7:30 And I do recommend you practice your film making alongside your movement.
7:34 So, even if your moves are not the biggest in the world,
7:37 you're still going to capture your story and your journey,
7:40 which is valuable in itself.
7:42 And that way, when those bigger jumps or harder tricks eventually come,
7:46 you'll already be ready and know how to film them properly.